How to Create New Folders in Launchpad on macOS
Launchpad is the fast way to find and open your apps.
By default, items in Launchpad are in alphabetical order. You can re-arrange icons on Launchpad by dragging them in the order you want.
If there’s not enough room to show all of your apps on one screen, Launchpad creates multiple pages. The dots at the bottom of the Launchpad screen show you how many pages of apps there are, and which page you are currently viewing.
This article will walk you through the process of creating new folders in Launchpad on your Mac.
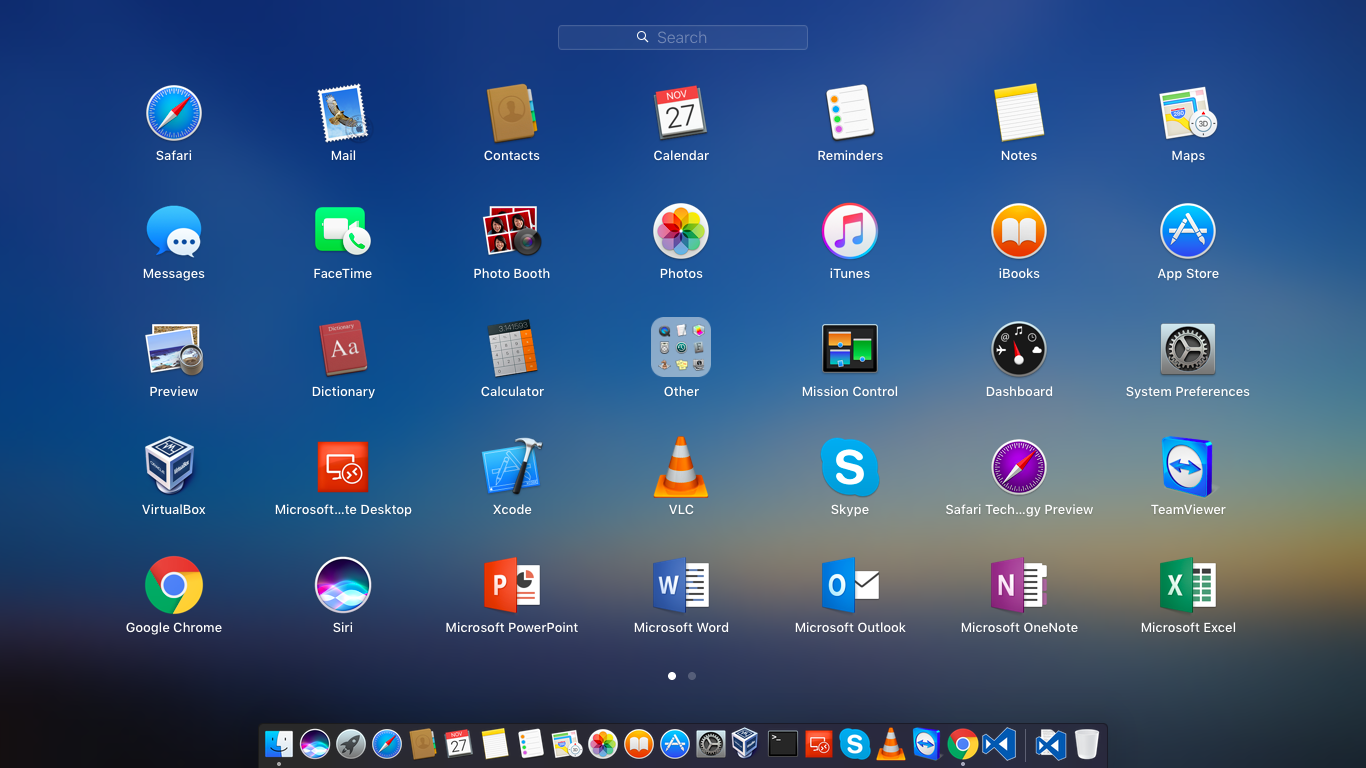
1. Click the Launchpad icon. This can be found in your dock and is a silver icon with a rocket ship.
2. Create a new folder. Click and drag one app on another to create a folder with an automatically generated name. You can rename the folder by clicking on it and then double clicking its title. This will cause the title to change to a text box where you can type its new name.
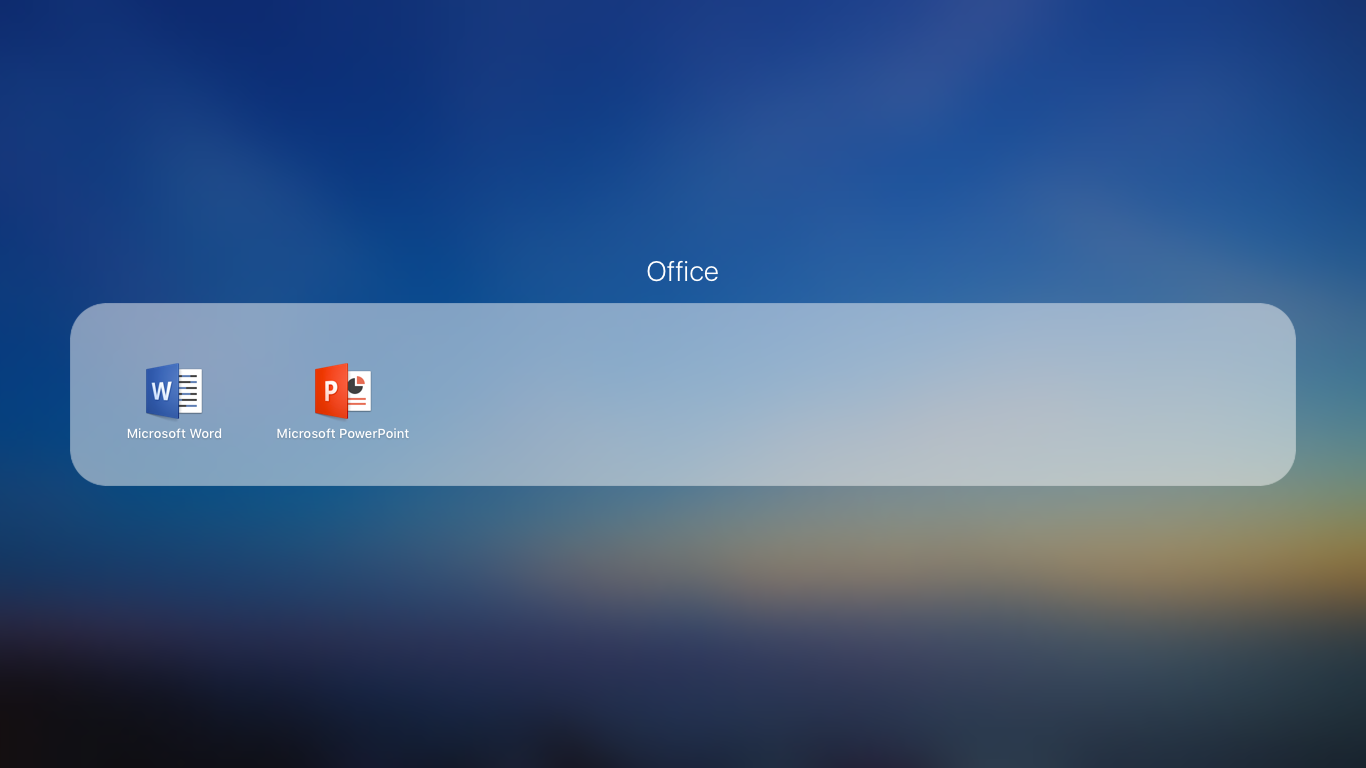
E.g. I have Microsoft Office installed and I want to Create a Folder called Office which has all the Office Apps.
I have dragged PowerPoint into Word and it will Create a Folder as shown below. And I have renamed the folder to Office.
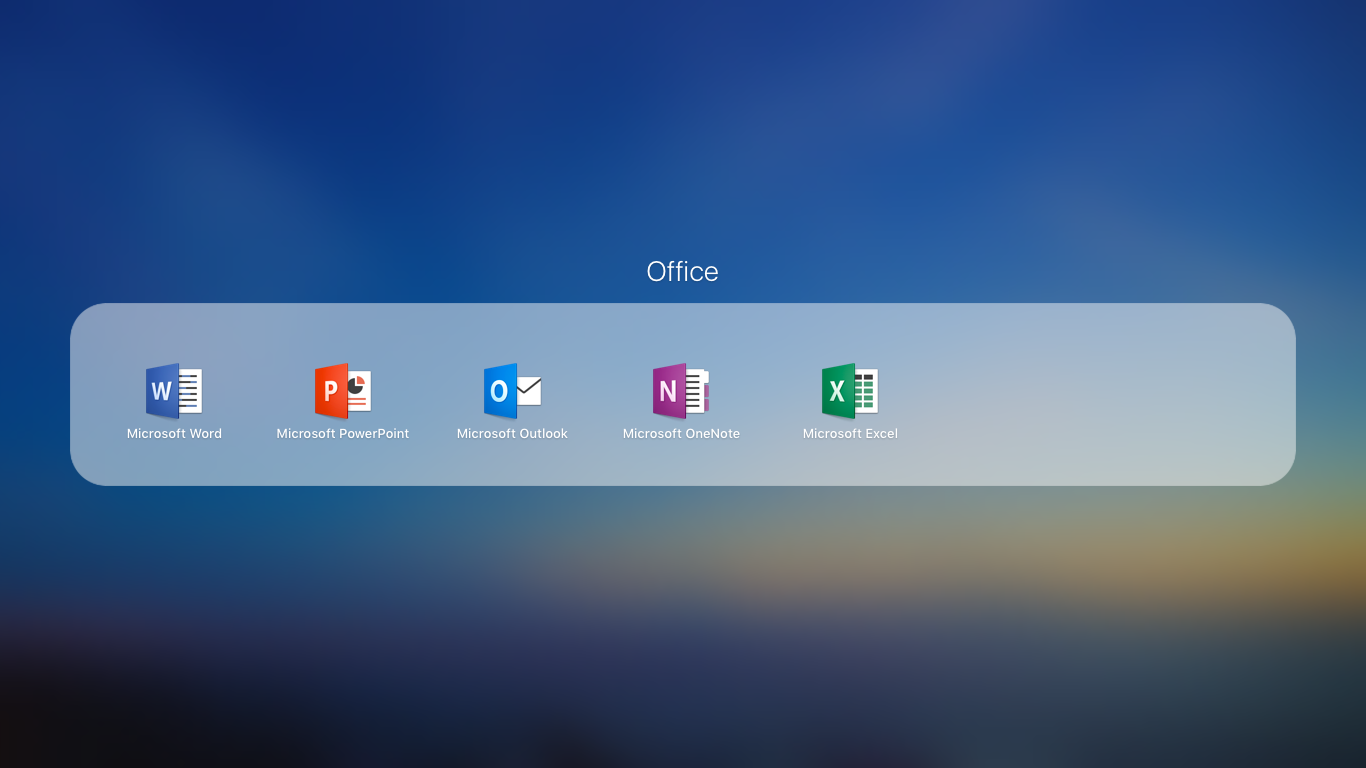
3. Add more apps. Once you have created the folder, you can simply drag and drop more apps into the folder.
I have dropped Outlook, OneNote, and Excel to same Folder.
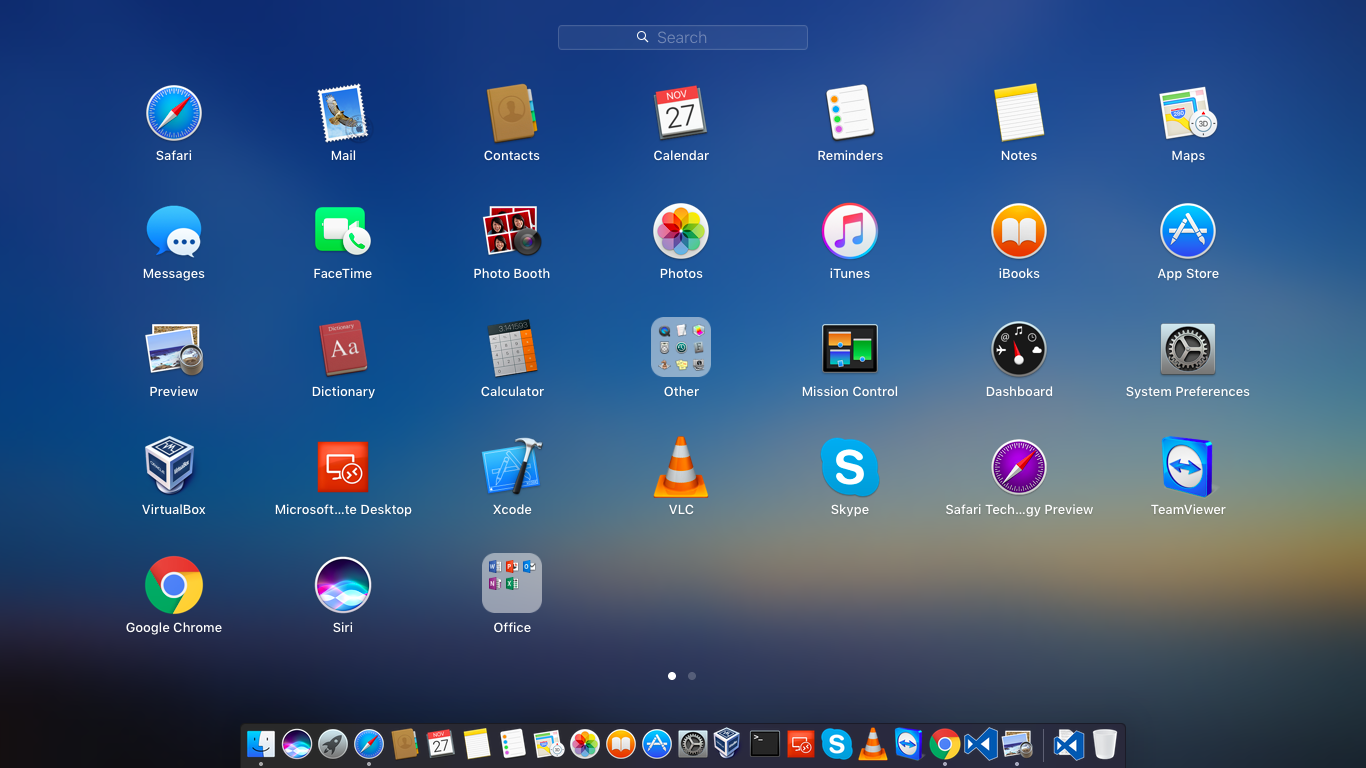
Now it will show like this in Launchpad.
I love your blog.. very nice colors & theme. Did you create this website yourself? Plz reply back as I’m looking to create my own blog and would like to know wheere u got this from. thanks